From live classes to digital content: How fitness instructors can build a reusable content library
Teach live classes every week? Here's how to record them, convert the files, set up a searchable library, and share it across platforms.
Last Thursday's 6 a.m. spin class? Already gone, forty-five minutes of cueing and sweat and loud music reduced to a damp towel by the time you'd wiped down the bike and grabbed a coffee.
Next week you'll build the whole thing again from scratch. Kind of a waste, right? And the whole time there was a phone in your gym bag, perfectly capable of filming every second.
Press record and that one class could come back as an on-demand workout. Or as audio people play like a podcast. Or as a guided run for the client who straps a phone to their arm.
The catch is the files. Whatever your phone or recording app produces has to open on your clients' devices, and that isn't always a given. Sort that out early and everything after it, from uploads to a library you can actually search, gets a lot easier.
Source: Unsplash
Why your live classes are already content
Here's the bit people miss: you've done the hard work already. You wrote the warm-up. You built the main set, you know exactly where everyone's form falls apart, and you've got a cool-down that actually lands. Do that three or four times a week and you're basically a content creator on a schedule, honestly. Hitting record is the easy bit.
Take your Tuesday HIIT class, the 45-minute one. Film it once. You now own the full video. Cut it up and there are three ten-minute express sessions, a version that's just audio for the people who run outdoors, plus enough Reels clips to last a fortnight.
Five-plus pieces of content for one hour of teaching you were doing anyway. Not a bad deal.
The first step is dull but it works. Write down every class you teach in a normal week. Congratulations, that's your content calendar.
Record your classes with reuse in mind
Think about the recording before class starts. Fixing a bad recording afterwards is miserable. Ten minutes of setup beforehand spares you most of it.
1. Set up gear that won't let you down
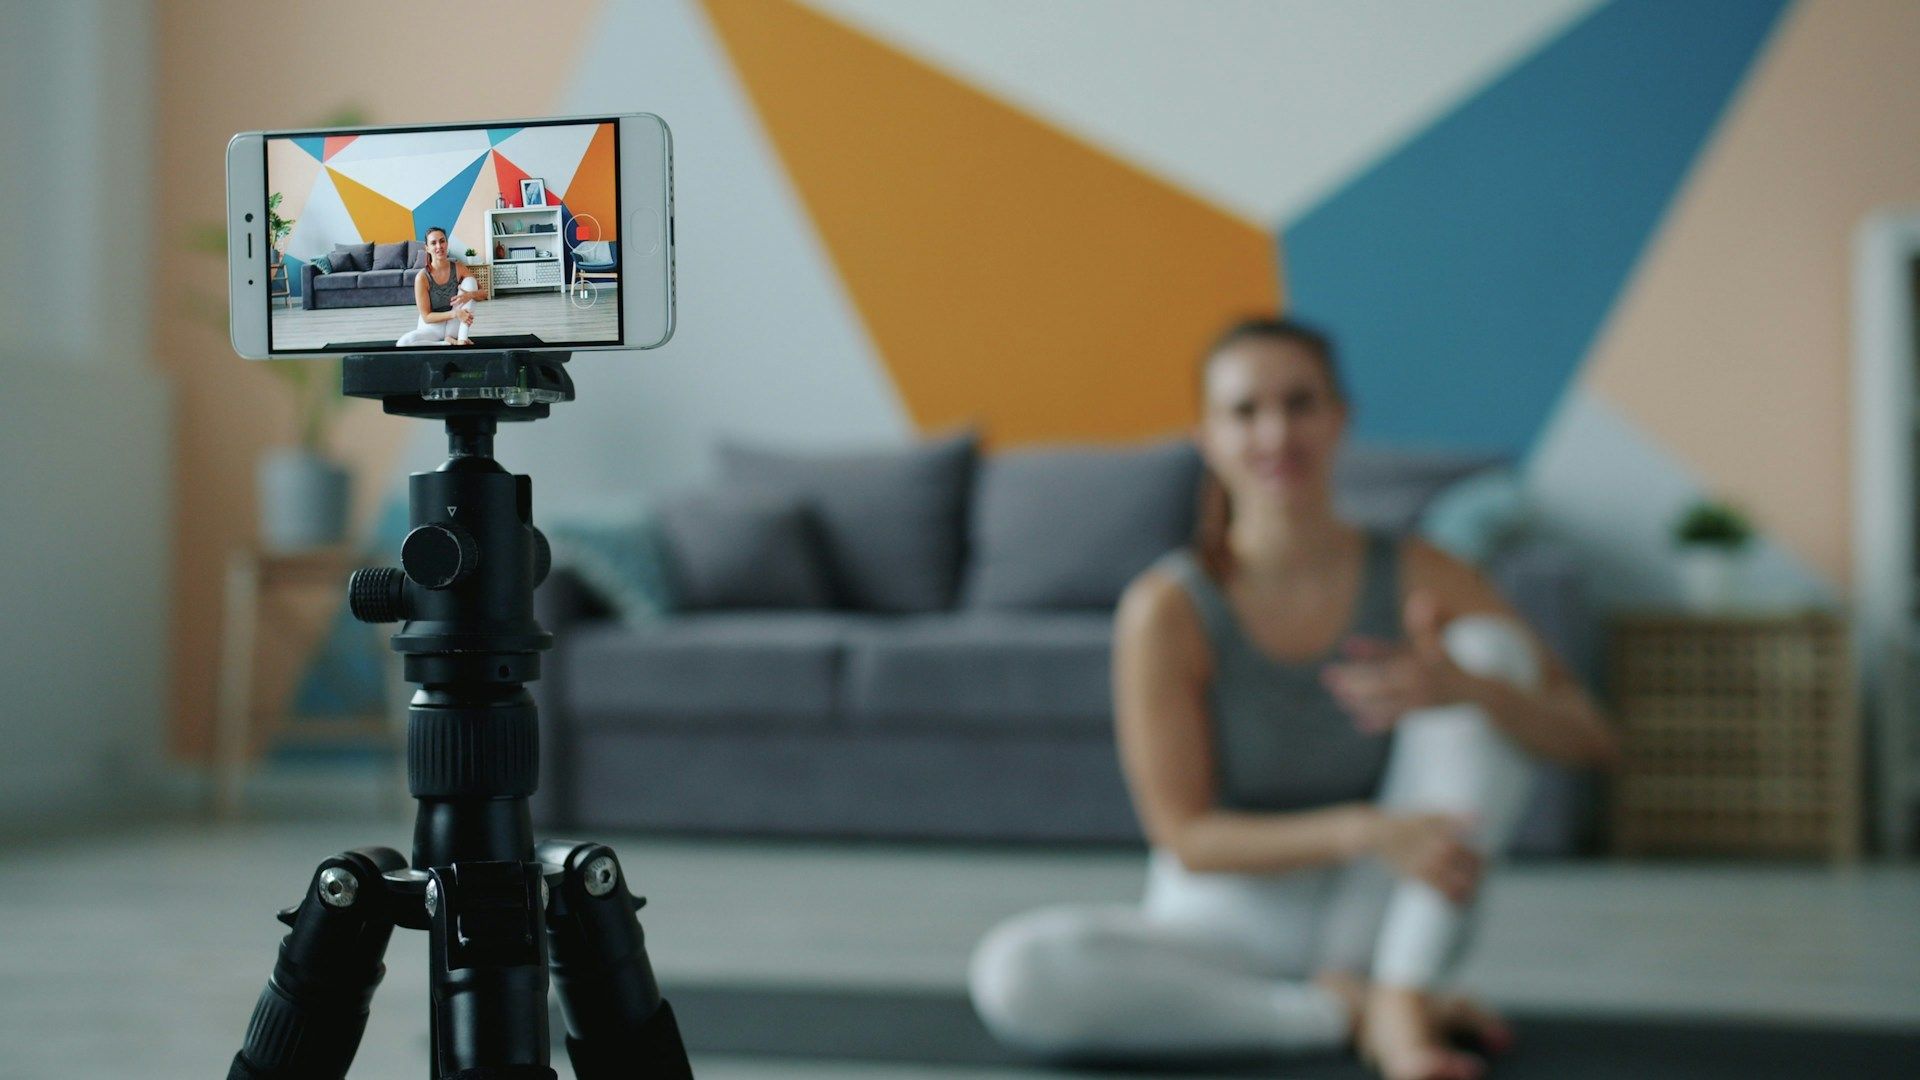
No studio needed. Honestly, a decent phone on a tripod does the job. Your phone already shoots 1080p, which happens to be all YouTube and most course platforms ask for. Put the camera around chest height and shove it a little to one side. Then people see your whole body and can copy your form from a sensible angle.
Lighting matters way more than the camera, though. Face a window, or buy a couple of cheap LED panels. And don't stand in front of a bright window unless you want to film yourself as a dark blob.
2. Capture audio separately
If people can't hear you, they bail on the workout. A grainy picture? They'll live with it. Cues swallowed by the playlist? They're gone by minute ten.
- Get a lavalier mic. Rode Wireless GO, DJI Mic, something like that. Clip it on and you're audible mid-burpee.
- Music: quiet, or added later. Popular tracks get videos muted or yanked on YouTube and Facebook, usually right after you've posted. Royalty-free libraries (Epidemic Sound is one) are way less stressful.
- Record a backup. Voice memo on your phone, running the whole class. Mics die at the worst possible moment, and it's never when you're testing them.
- Clap once at the start. Feels silly, works great. That spike in the waveform lets you sync audio and video in about ten seconds.
Next class, record two minutes and play it back on your phone's speaker. Clear there? Then it'll be clear nearly anywhere.
Read also: What is content marketing and how can it help your business grow?
Source: Unsplash
Get your audio and video formats right
Formats sound boring until a client emails to say your workout won't open on their iPhone. For that person, it doesn't exist.
Audio: Make MP3 your default
MP3 is the safe bet. Spotify and Apple Podcasts take it, course platforms play it without complaint, and clients can download it before heading out on a run where the signal's terrible.
OGG turns up a lot more than you'd think. Android recorders, Discord, browser-based recording tools, voice messaging apps, they all love it (sometimes it's labelled OGG Opus). Apple devices, some podcast hosts and a few course platforms don't always cope with it, so the safest move is to convert ogg to mp3 before uploading.
Otherwise expect playback errors and a couple of "it won't play" emails. Where voice sits over music, don't go below 128 kbps. Above that is plenty. Cues stay crisp, files stay small.
Video: Stick with MP4
Video's easier: MP4, H.264 codec, done. Almost every device handles it, so that's one decision you never have to revisit. Full workouts go out at 1080p. The exception is vertical clips. Those need 1080 x 1920, otherwise TikTok, Reels and Shorts stick black bars above and below them and it looks cheap.
Save your export settings as a preset and don't touch them again. A lot of upload trouble starts when somebody fiddles with settings mid-project.
Organize a library you can actually search
Fifty files called "final_v2_REAL.mp4" sitting on your desktop isn't a library. You need to be able to find things.
Here's a setup that doesn't take long:
1. One home for everything. Google Drive, Dropbox or Frame.io, I honestly don't mind which. Just pick one.
2. Folders by format, then workout type. Top level is video, audio or clips. Inside those, a folder for each kind of class you run.
3. A naming pattern you never break. A good name answers every question before anyone double-clicks. 2026-10-HIIT-45min-Intermediate-v1.mp4 says month, class type, length, level and version, all in one go.
4. Track files in a spreadsheet. Title, length, equipment, difficulty, where it's been posted: one row per file. Airtable is lovely for this if you're feeling fancy, otherwise plain Google Sheets works.
5. Raw footage gets its own folder. Sooner or later you'll want to re-cut something, and digging through edited files for the original is no fun.
Seriously, do the folders this week. It's twenty minutes, and every file after that has somewhere to go.
Source: Pexels
Create evergreen workout content
Some content goes off like milk. Some doesn't. A well-cued 20-minute lower-body session will be just as handy next March as it is today.
What ruins that shelf life is anything that pins the video to a date. Holiday shout-outs, a comment about the rain, "this week's challenge." Leave all that out. Member names too (people who weren't in the room get confused, and if nobody signed a consent form you've got a privacy problem on your hands).
So what lasts? Beginner basics. Quick morning routines. Workouts with no equipment. Mobility for people who sit at a desk all day. Those problems aren't going anywhere, whatever's trending. Oh, and film the intro as its own clip. Prices change. Programs change. You don't want to re-film a whole workout over that, so just swap the intro.
Put your content on the right platforms
Same class, different cuts for different places.
- YouTube is for the full-length free workouts, the ones that make a stranger decide you're worth following after a single session.
- Instagram and TikTok are where you show off one tiny thing. One move. One cue. Or that correction half your class needs (you know the one). Fifteen to sixty seconds, no more.
- Anything people pay for goes on a course platform. Kajabi, Teachable and Uscreen all do it: on-demand library, multi-week programs, the lot.
- Podcast apps take the audio-only versions. Coaching talks, guided runs. Nobody jogging with earbuds in is missing the video.
- Email is the last one. You own that list outright, unlike your followers, who belong to whichever algorithm is in charge this month. One workout link a week is plenty.
Start with two. Covering all five just means doing five things badly.
Save time while you build
You don't have much spare time, so batch your jobs. A little editing on Monday, a little captioning on Tuesday, a little scheduling on Wednesday just eats the whole week. Do each one in a single sitting.
So: record every class, edit on one set day. Try Descript. You edit the video by editing its transcript, which feels slightly like cheating (it isn't). CapCut's quick for vertical clips.
Captions? Write the whole week's worth in one sitting, then hand the posting to Buffer or Later. Thumbnails and intros? Design them once and move on. That's a pile of tiny decisions you never have to make again.
Two hours a week, in your calendar, for editing and scheduling. Treat it like a paying client's booking, because the first time it slips it'll start slipping every week.
Start with next week's class
Nobody has a perfect system on day one. So, next week: record the class that's always packed. Convert the audio. Export the video properly. Give the files sensible names. Then pull one short clip for social media.
Do the same the week after. Three months from now you'll have a searchable library of workouts pulling some weight for you while you're out teaching live.
Read next: How education content converts appointment bookings
